IC-705 Vara FM Setup
IC-705 Vara FM Setup
Yesterday my friend and neighbor NQ8M and I managed to get our first Vara FM P2P Winlink session completed. He was using a Digirig Mobile adapter for his Yaesu FT-7900 radio (maybe I’ll be able to talk him into guest authoring a post about his setup) and I was running my Icom IC-705 radio. In this post I’ll document my setup in hopes that (1) it will help me better understand my setup, (2) that understanding will contribute to making sure that I can reliably set up this and other radios again in the future, and (3) some future reader may be able to benefit from what I learned.
Radio Setup
The Icom IC-705 has a pretty cool feature that allows you to save and load “presets”, which are combinations of settings that you may use for different purposes. The radio ships with a pre-configured preset called “FT8” that I decided to start out with because it has a lot of sane defaults for digital modes. With that preset loaded, let’s talk about some other settings that were important to getting this setup. Unfortunately I set up the radio side before I decided that I would do this documentation exercise, so there may be some items missed.
- Menu -> Set -> Connectors
- USB(B) Function
- USB (B) Function = OFF
- GPS Out = ON
- The above options set your radio up to feed a GPS data stream to the secondary COM port
- USB AF/IF Output
- Output Select = AF
- AF SQL = OFF (Open)
- AF Output Level = 50%
- The above options set up audio output through USB to your computer, sets a “middle of the road” output level (you may need to tweak this), and turns off squelch so that all received signal will be passed to your computer for processing
- CI-V
- CI-V Address = A4h (this is the default and just for awareness)
- CI-V Transceive = ON
- CI-V Echo Back = OFF
- USB(B) Function
- Menu -> GPS
- GPS TX Mode = NMEA
- This sets the data format of the GPS data stream sent to the COM port to NMEA, which is most commonly used by software
- Mode = FM Digital
- Filter = Filter 1
PC Setup
Windows Settings
Important Note before plugging any USB device (including transceivers) into your computer, always check for drivers available download from the device manufacturer. Not having the right drivers installed before you plug in your radio can cause a lot of frustration and rework. I am not going to put a link to the Icom IC-705 driver in this post because you really should check for the latest version at the Icom website.
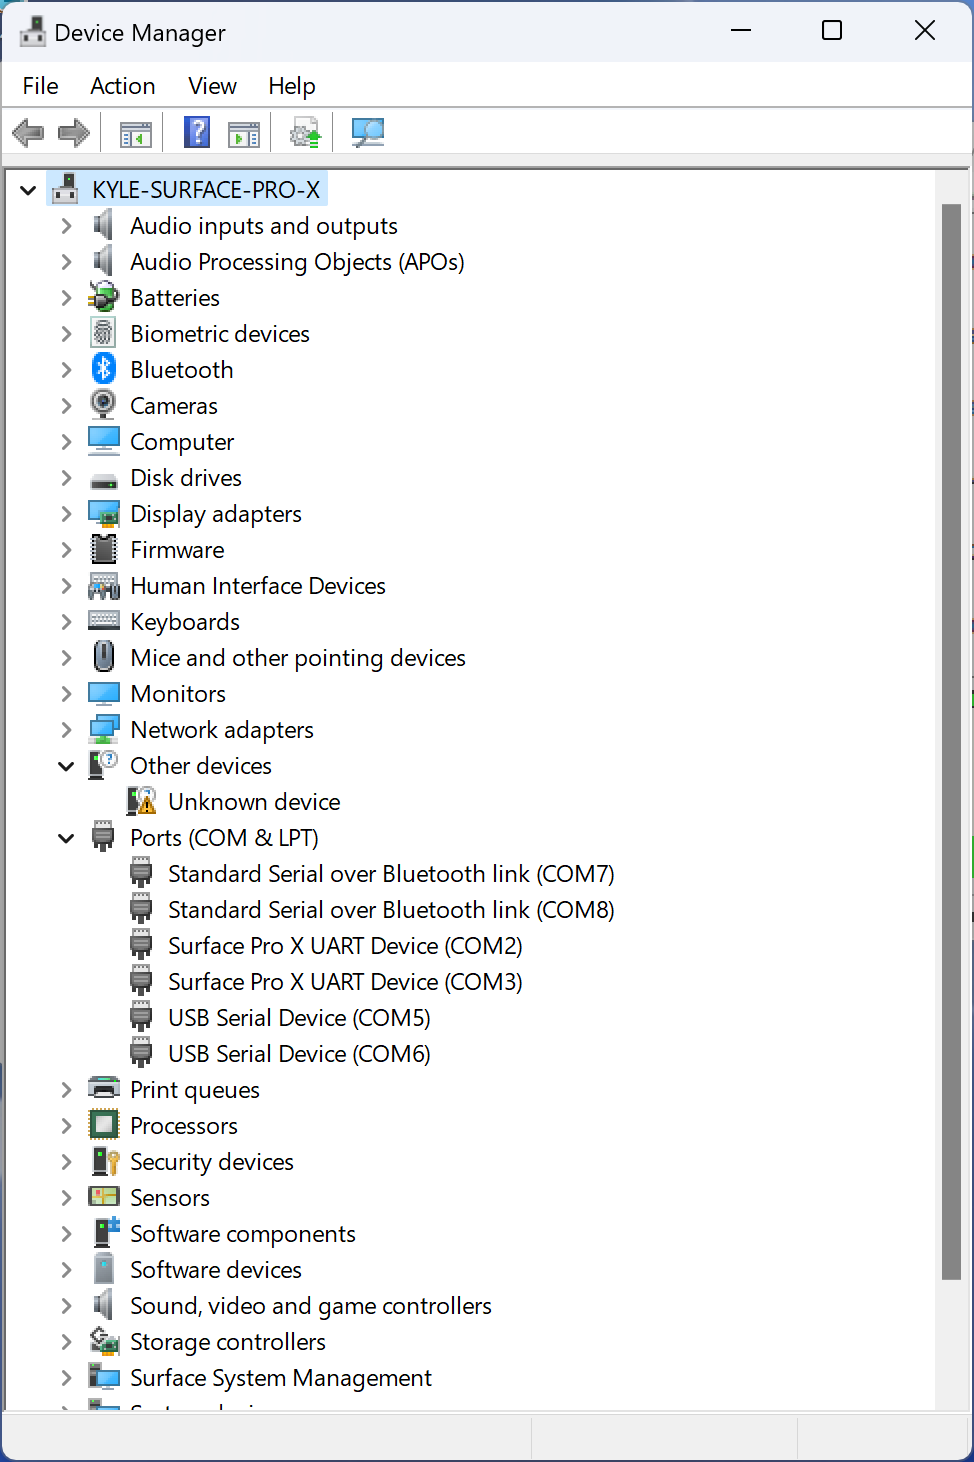
After installing the latest IC-705 driver and connecting the radio and my laptop via USB, I took note of two COM ports that were created for the radio. Your results may vary, but in my case and for others that I have seen sharing their experiencing, the higher port number was for CI-V. Your port numbers are likely to be different, but you should see something like this:
I took note of the COM ports for later use and went to my sound settings. There are a few ways to get there, but I prefer to open the “Settings” Windows application, select “System” from the left-hand navigation, and then “Sounds” in the main panel. From there, I scroll down until I find the command labeled “More Sound Settings” and click that, resulting in a dialog similar to what is shown below.
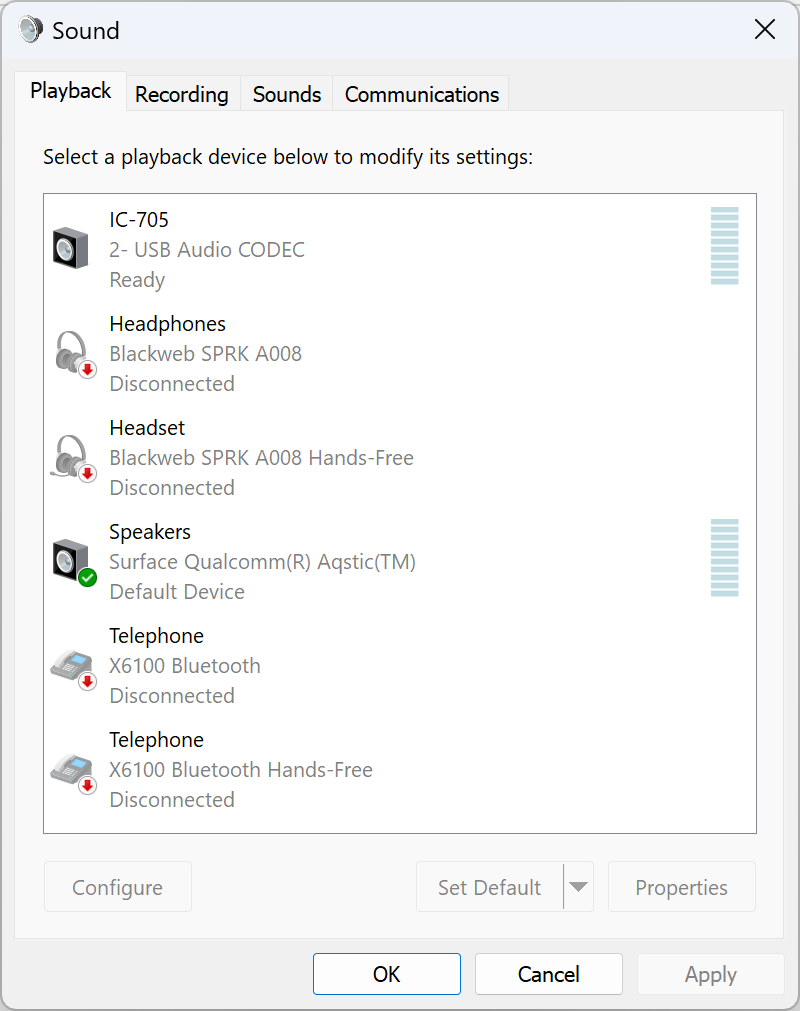
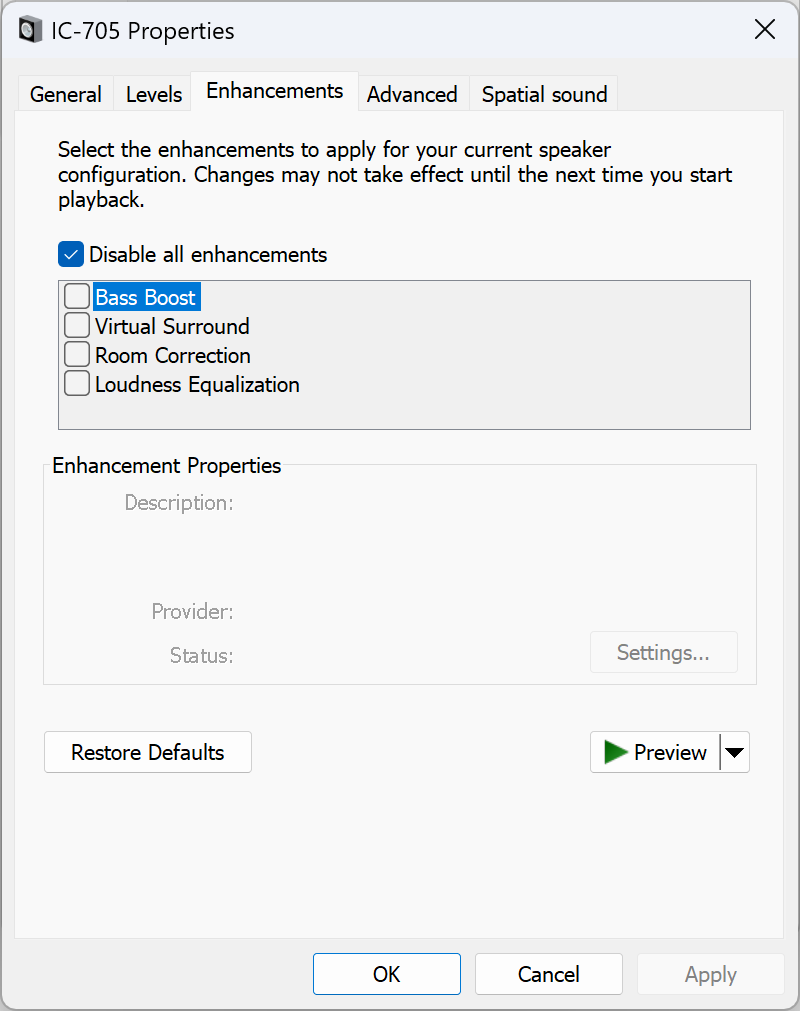
In the screenshot, the playback device is labeled “IC-705”, but by default it’s going to be called something like “USB Audio Codec”. A lot of things get called that by default, so the first thing that I did was double-click the item and rename it. I also made sure to right-click the built-in sound device for my laptop and set it to “Default Device” and “Default Communications Device”. Doing this helps avoid Windows system sounds or sounds from other applications from being played back to your radio. Finally, I updated the device to disable all effects as shown in the screenshot below. This is important because you don’t want Windows changing the audio being generated by Vara FM before sending it to your radio.
Next I moved on to the “Recording” tab
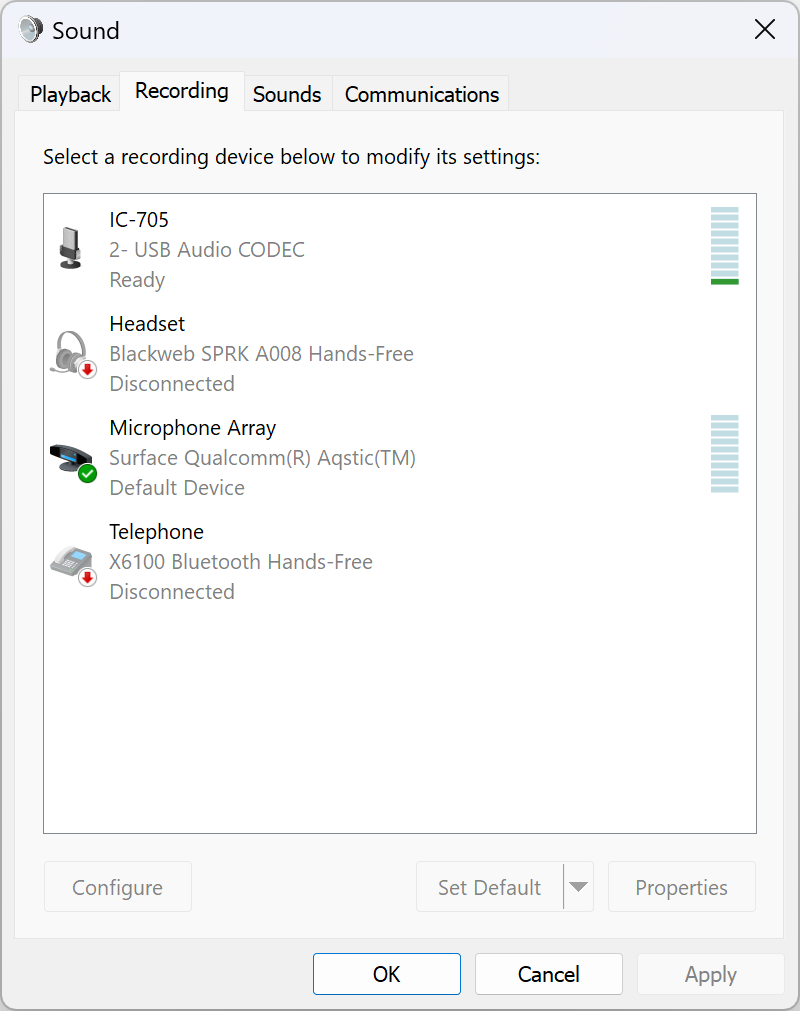
Similar to on the playback tab, I renamed the device and made sure that it wasn’t set as default. On some radios, you need to go into the detailed settings and turn off “AGC”, but that wasn’t an option for me in the sound device created by my IC-705.
Vara FM Setup
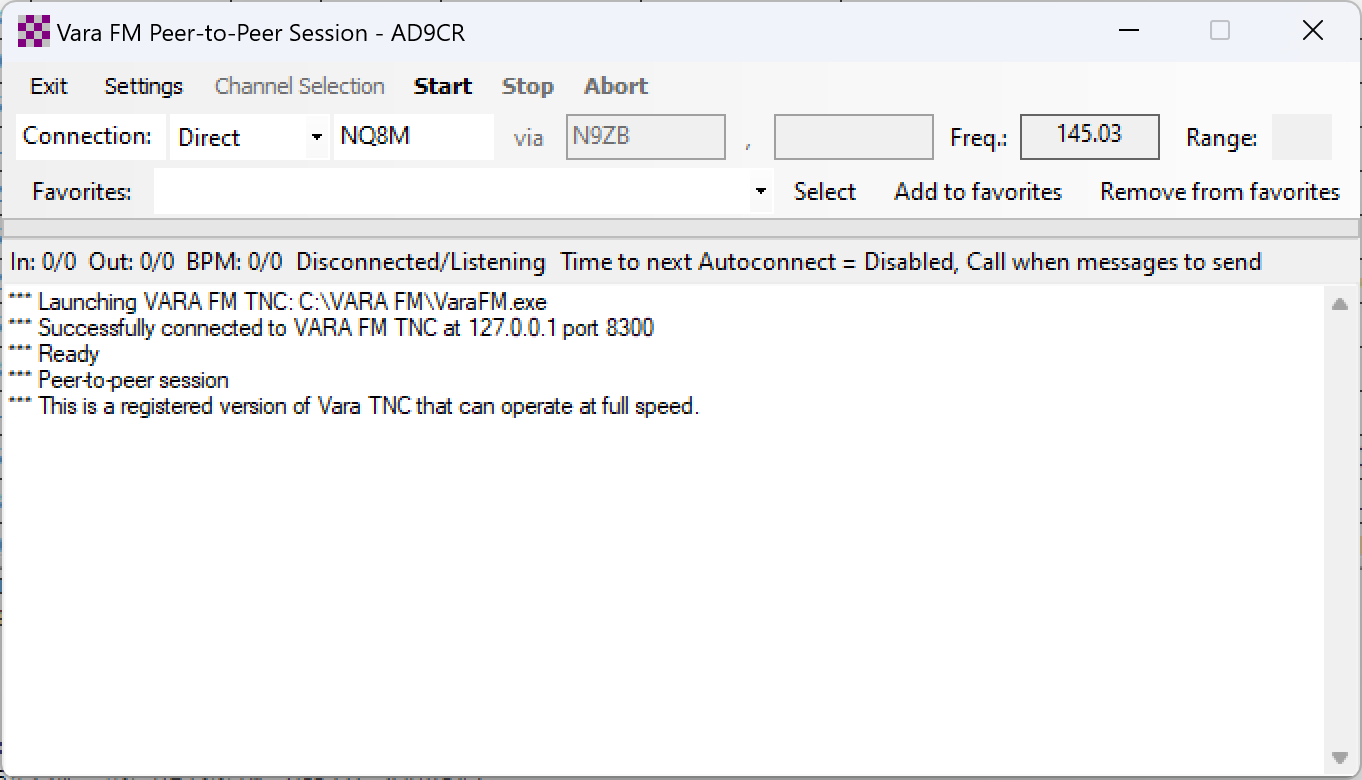
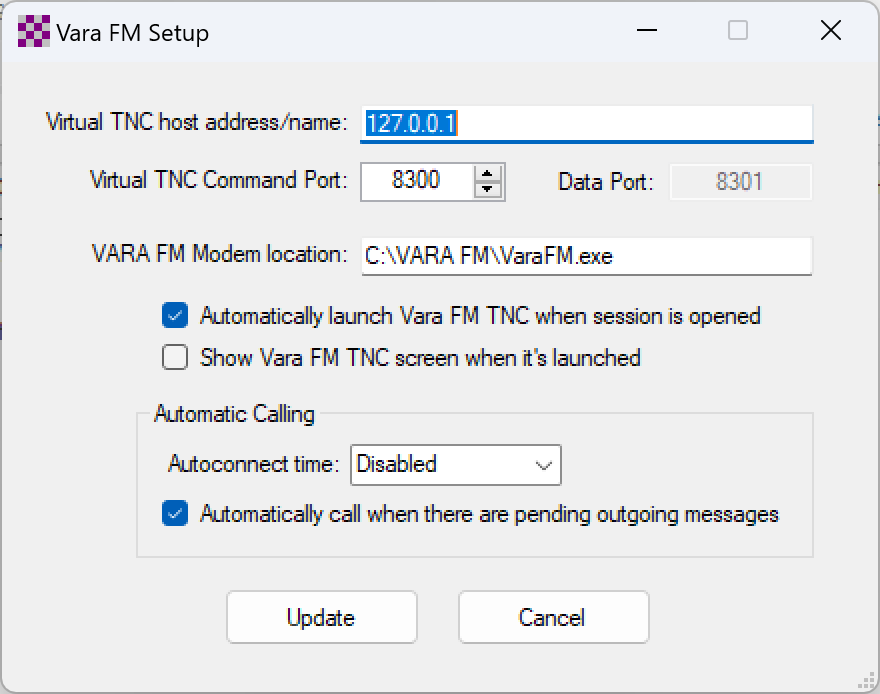
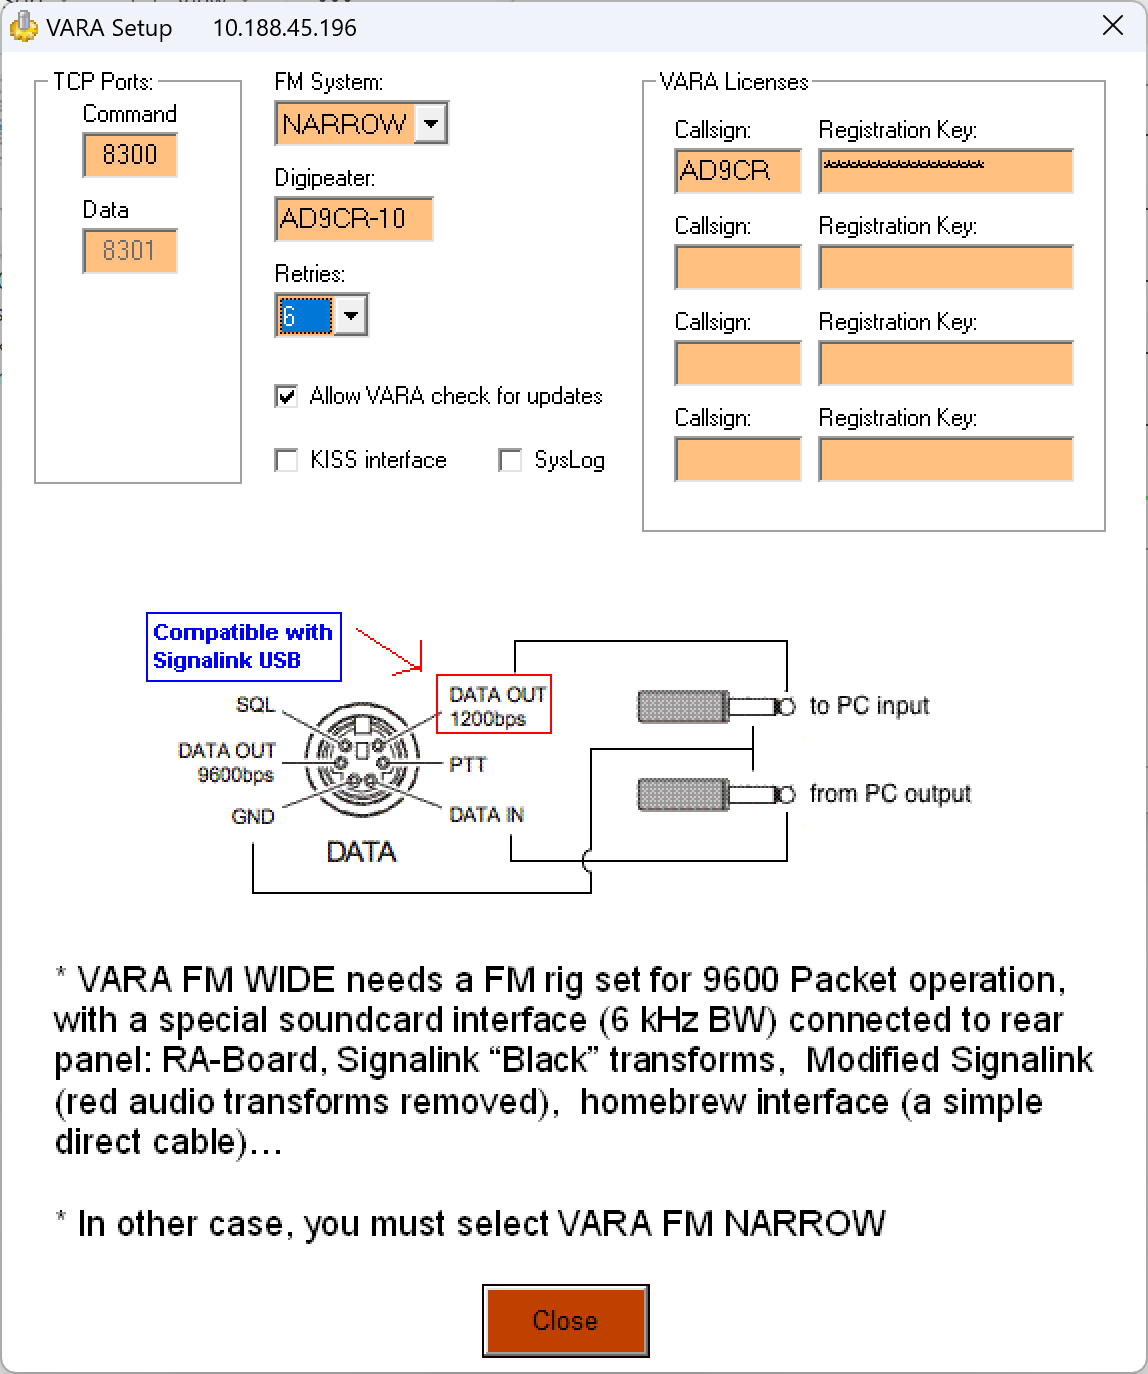
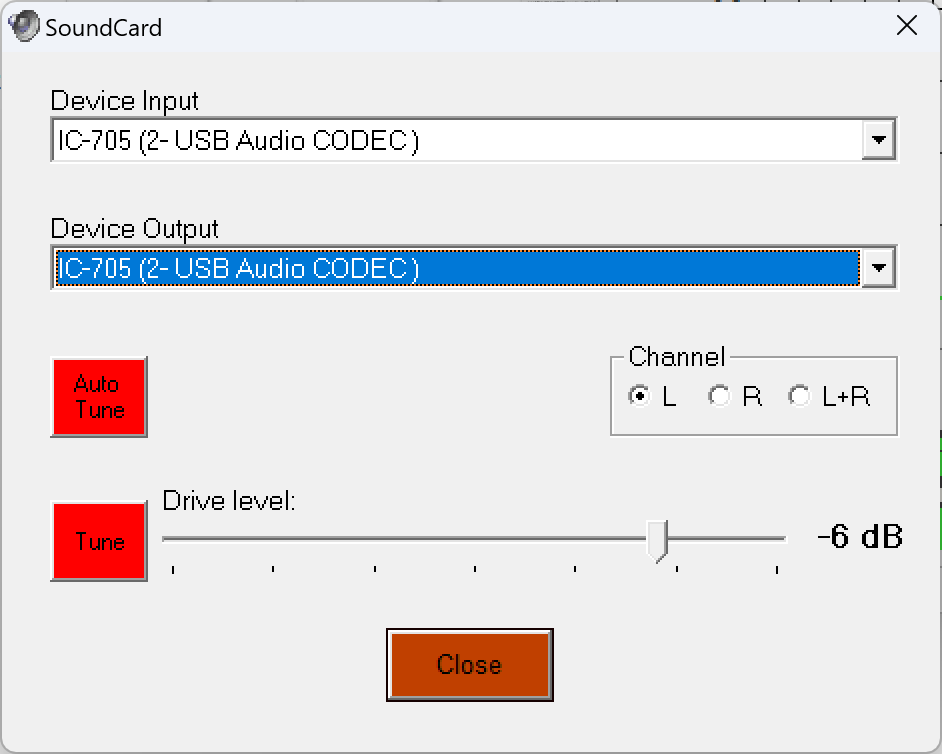
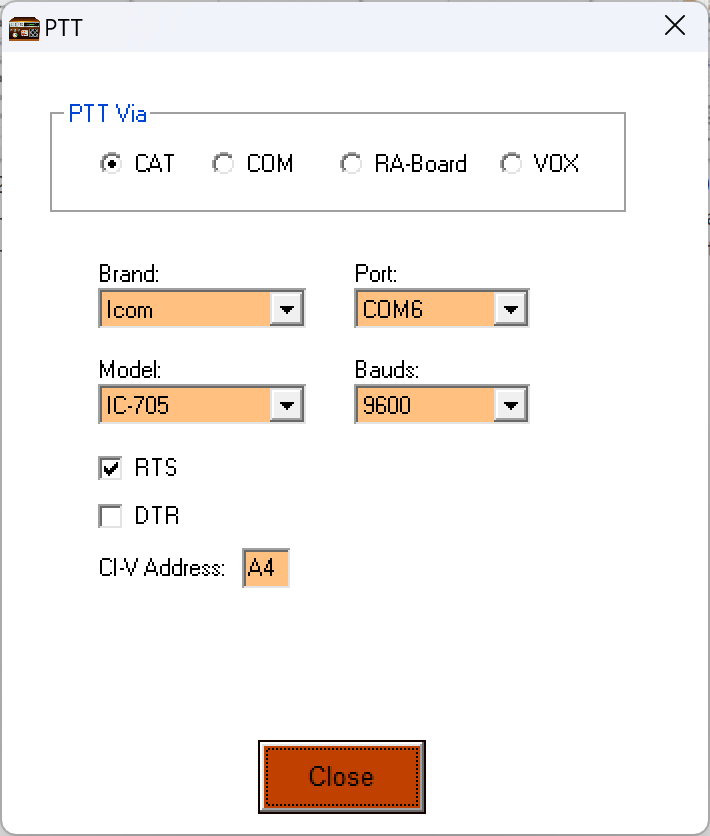
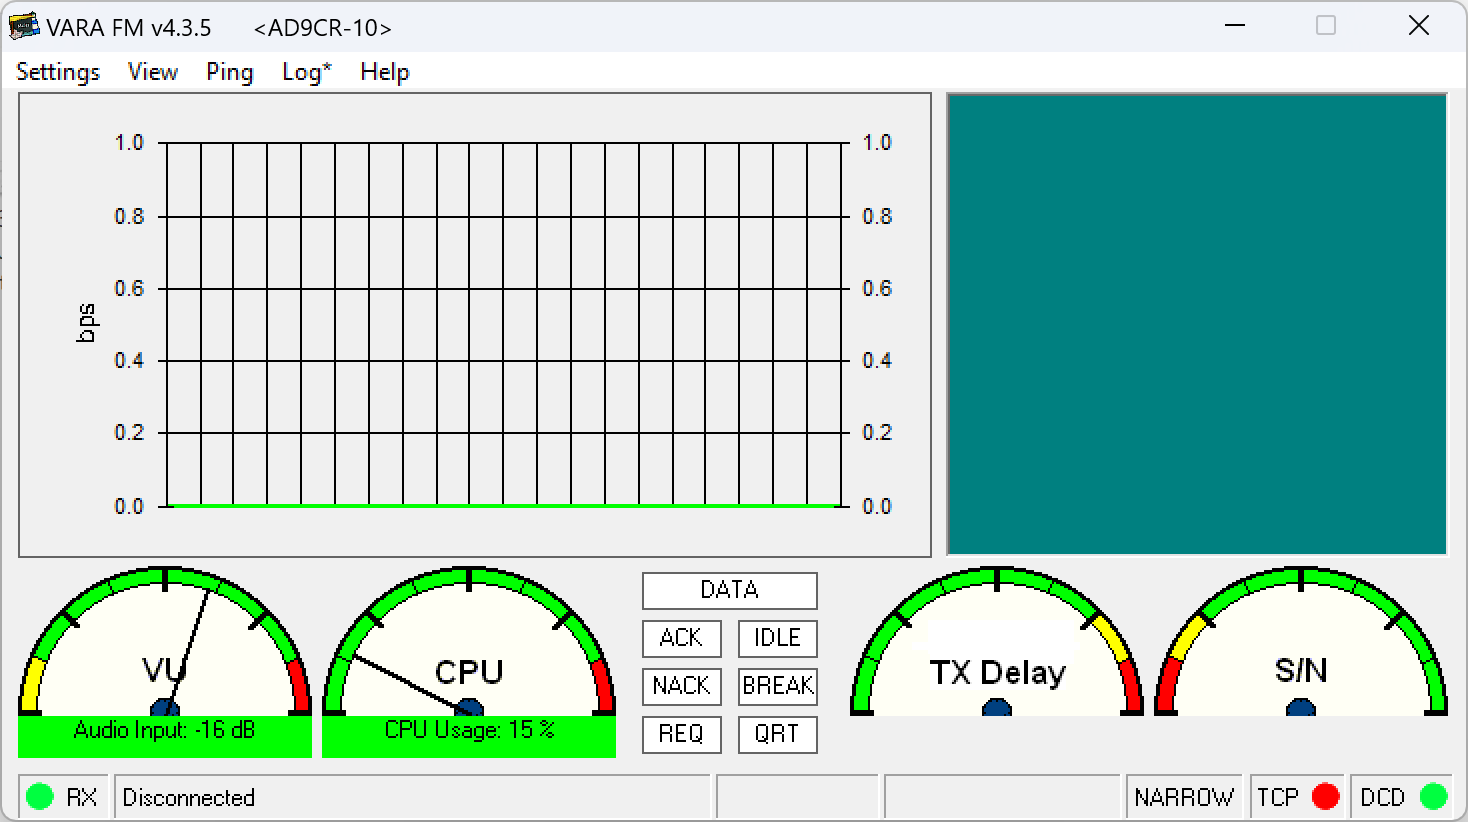
With Windows settings are all squared away, I launched Vara FM and started getting it configured.
Winlink Express Setup
